Snipping Tool Shortcut Guide for Windows 10 and 11
The snipping tool shortcut opens capture mode in Windows 10 and 11; in-app keys help you edit and save screenshots without breaking your support reply flow.

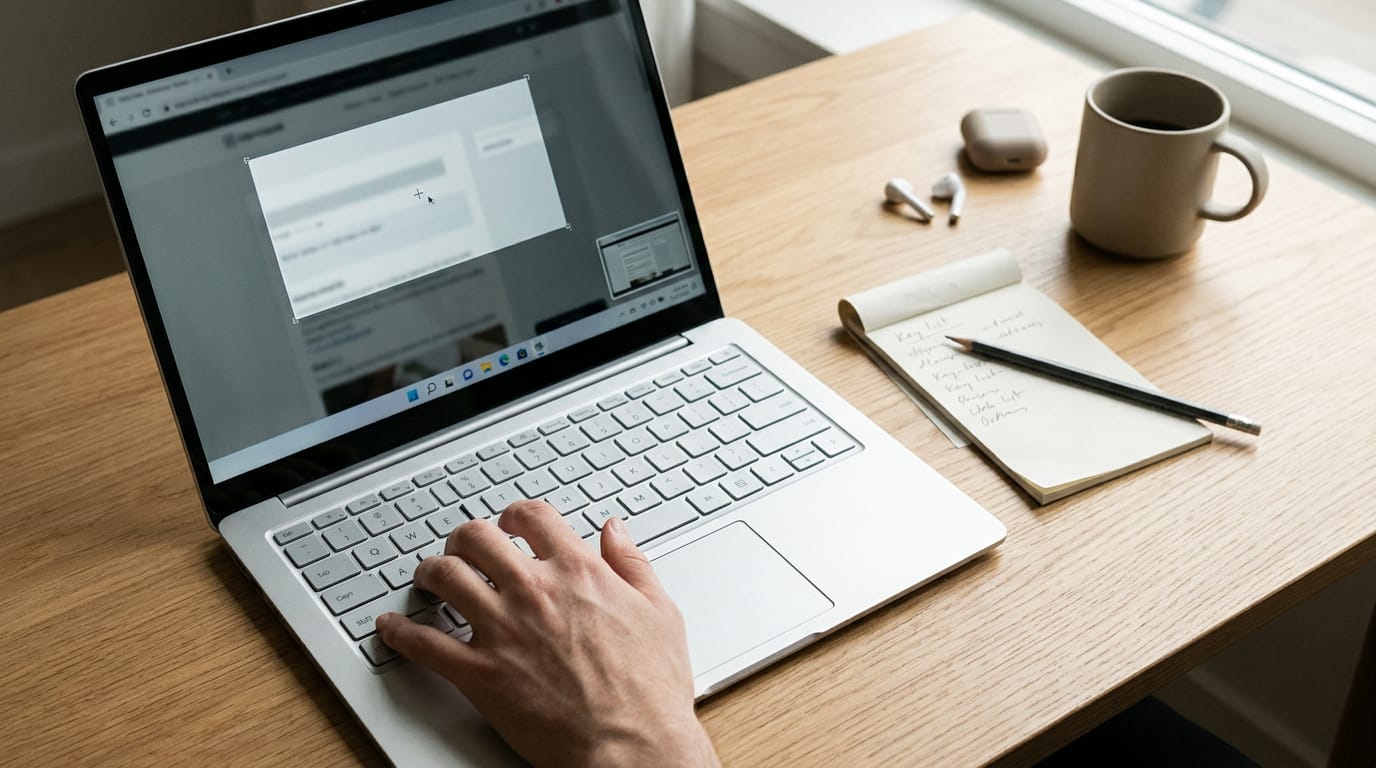
The short versionThe Snipping Tool is Windows’ built-in app for capturing screenshots, and Win + Shift + S opens its capture bar in Windows 10 and 11. Choose a rectangle, window, full screen, or freeform capture, then use keyboard shortcuts to copy, paste, save, print, and mark up the image; Mac users can use Cmd + Shift + 3, 4, or 5 for screenshots. The practical advantage is capturing and sharing what’s on screen with fewer menu and mouse detours.
You’re halfway through a support reply and need to show a customer exactly which button is causing the error. Reaching for the mouse to find a screenshot tool breaks your flow.
The Snipping Tool is already built into Windows, and a keystroke gets you there faster than a menu hunt.
In this post, we’ll cover every Snipping Tool shortcut on Windows 10 and 11, from the keys that launch it to the ones you use inside the app. We’ll also cover where your snips get saved, Mac equivalents, and a keyboard-only workflow for your home office.
Why Use the Built-in Snipping Tool Shortcut
Windows already includes a screenshot tool, and a keyboard shortcut can open it without your hands ever leaving the keys. Here’s why the Snipping Tool deserves a spot in your daily routine before you go looking for anything else.
Free, quick, and built right in
Here’s what makes it a strong default:
- Free and preinstalled. It ships with Windows 10 and 11, so there’s nothing to download and nothing to pay for.
- Comparable to third-party tools. For everyday captures, the built-in tool holds its own against standalone screenshot apps. Yes, those apps are an alternative if you want something different, but you may not need one.
- Quick, convenient screenshots. A few keystrokes take a capture instead of a trip through menus.
- Shortcuts speed up workflow. Each capture that stays on the keyboard saves a detour to the mouse, and those detours add up over a day.
Think of a support agent who needs to grab an error message for a ticket. With a shortcut, she captures it and is back to typing the reply before the mouse would have found the menu. It’s not about having a screenshot tool.
It’s about reaching it without leaving the keyboard. Your hands stay on the keys.
How to Open the Snipping Tool Quickly
The right key starts a capture from any app, no mouse required.
What’s the keyboard shortcut for a screenshot?
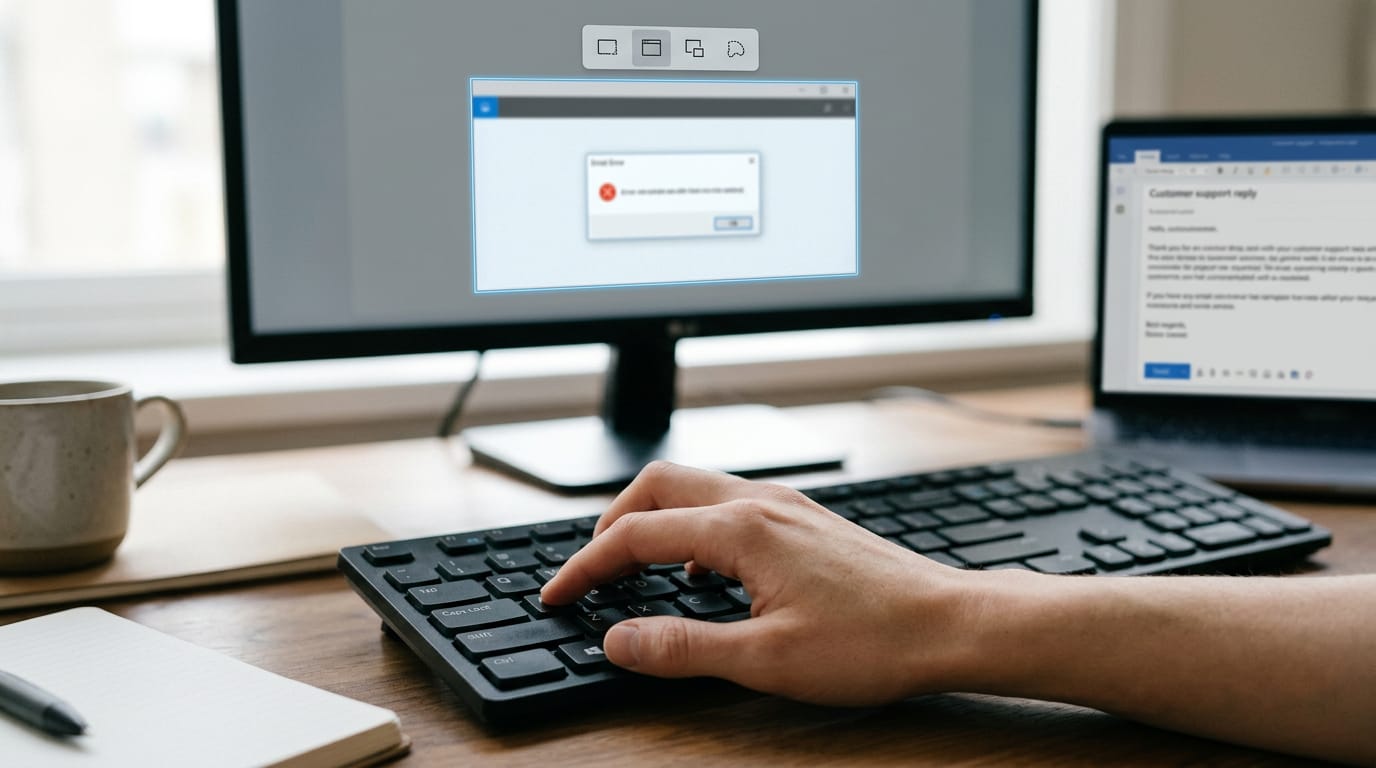
On Windows 10 and 11, press Win + Shift + S. A capture bar appears at the top of the screen so you can choose a mode:
- Works anywhere, any time. You don’t need to open the app first.
- Opens the capture panel. Pick rectangle, freeform, window, or full screen.
- Tab and Enter to pick mode. Tab moves between the buttons, and Enter confirms.
A support agent who needs to show a customer an error can press Win + Shift + S, Tab to window mode, and hit Enter. The capture lands on the clipboard, ready to paste into the reply with no Start menu detour. The aim is speed rather than setup.
A Print Screen key can open the same capture bar too, once you turn that on under Settings, Accessibility, then Keyboard. Otherwise, it copies the full screen.
On a Mac, Command (Cmd) + Shift + 4 captures a selected area, Command (Cmd) + Shift + 3 captures the full screen, and Command (Cmd) + Shift + 5 opens a screenshot toolbar.
Other ways to start the tool
If you’d rather not memorize a combo, try these:
- Search in Start menu. Press the Windows key, type “Snipping Tool,” and press Enter.
- Click New in app. If it’s already open, select New for a fresh capture.
- Pin to Taskbar. Right-click the app in search results and pin it. Then Win plus its taskbar position (Win + 1, Win + 2) opens it from the keyboard.
Set up your own keyboard shortcut
You can assign a custom Windows shortcut key combination to launch the tool, which helps if you’d rather use keys you already know. The steps take a few more clicks, so they’re covered in a separate guide. Set it once and your hands stay put.
What You Can Capture in Windows 11
The Snipping Tool handles more than one kind of capture, so know your options before you reach for it.
Screenshot modes to choose from
The right mode depends on what you need to show, not on habit:
- Rectangle: drag a box around just the area you need.
- Window: capture one open window.
- Full screen: grab everything on the display.
- Free-form shape: draw an irregular outline around whatever you want.
- Timer: add a short delay so you can set up the screen first.
Here’s how to handle a long page in Google Chrome on Windows 11. None of the modes above scroll, so capture the visible part with rectangle mode, scroll down, and repeat until you reach the end. Scroll, capture, repeat.
Recording your screen with the tool
Sometimes a still picture won’t show the problem, like a glitch that appears only after a click. The tool can record video too:
- Rectangle only: you select the area to record.
- Optional audio: add system audio, your microphone, or both.
- Saved directly: the file is ready as soon as you stop.
- Clipchamp for editing: open it when you want to trim or polish the clip.
A support agent working from the kitchen table can record a rectangle around a broken checkout page, narrate into the mic, and attach the file to the ticket right away, without stopping to edit.
Newer features worth a look
- Perfect screenshot: needs a Copilot+ PC.
- Text extractor: pulls text out of a capture so you can copy it instead of retyping.
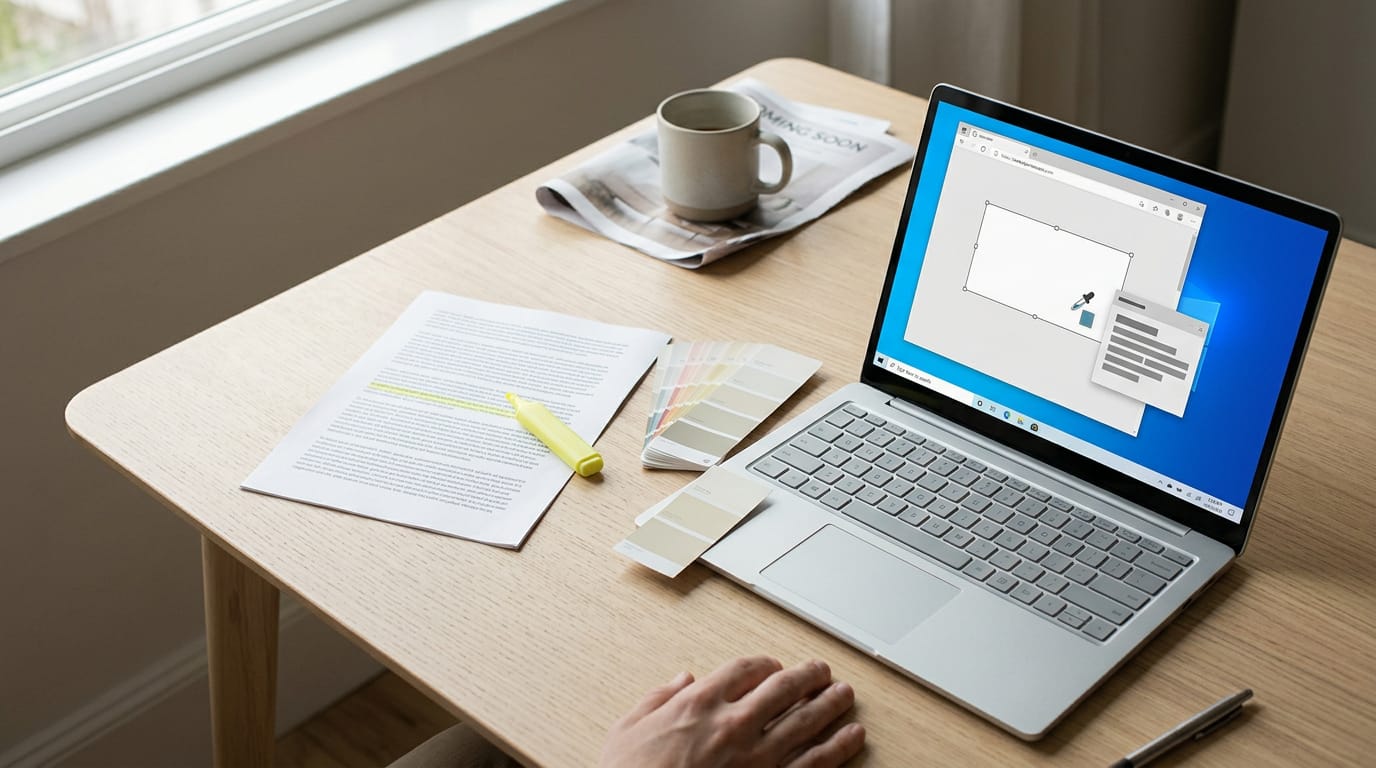
- Color picker: grabs a color from anywhere on screen.
- Click to do: another newer option to explore.
Some of these are still in Windows Insider, so check what’s on your PC, not what’s coming.
Shortcuts You Can Use Inside the App
The aim isn’t to ditch the mouse so much as make fewer trips back to it. Here’s the set worth learning, plus a printable cheat sheet you can keep beside your monitor.
Essential shortcuts for taking snips
These keys set up and start a capture:
- Alt + M: choose the mode for the snip
- Alt + N: start a new snip
- Alt + D: delay the capture
- Ctrl + N: also start a new snip
- Shift + Arrow keys: select the area
- Esc: cancel
Consider a home office recruiter who needs to capture a job posting on screen. Alt + N starts the snip, Shift + Arrow keys frame the area, and Esc backs out if they grabbed the wrong part. Hands stay on the keys.
How do I copy, save and print?
To snip, copy, and paste, start with Alt + N, press Ctrl + C to put the snip on the clipboard (the holding spot where Windows keeps copied items), then press Ctrl + V wherever your cursor sits.
- Ctrl + C: copy the snip
- Ctrl + S: save the snip
- Ctrl + P: print the snip
- Ctrl + V: paste the snip into another app
Consider a freelance editor who grabs a sample page from a client’s PDF. Pressing Ctrl + C, then Ctrl + V into the draft, keeps the whole round trip on the keyboard, saving a few clicks on every revision.
Open menus with the keyboard
Press these to open a menu:
- Alt + F: File menu
- Alt + E: Edit menu
- Alt + T: Tools menu
- Alt + H: Help menu
The menus also cover email, Paint 3D, and the pen, highlighter, and eraser. Keep the list handy until these keys feel automatic.
Edit and Save Your Snips
Taking the snip is only half the job. Here’s how to mark it up, save it, and share it.
Tools for marking up a snip
The editor offers four markup tools:
- Pen and highlighter to point at what matters
- Eraser to remove a mark you didn’t mean to make
- Shapes and emojis for quick callouts
- Crop to trim away what you don’t need
Markup is about pointing readers to the right spot, not decorating the image. Consider a remote analyst who snips a sales chart, crops out the clutter, adds an arrow, and pastes it into a Teams thread.
That’s four quick steps with no detour to another app.

Edit in Paint, then save or share
Need more than markup? Open the snip in Paint for fuller editing. Then you can save it to a file or copy it for immediate use. Clipboard snips aren’t saved as files at all; they sit on the clipboard until you copy something else.
A notification pop-up after each snip offers a quick route into either option. To share, paste with Ctrl+V into Slack, Teams, or email, and the image lands right in the conversation.
Where do my snips get saved?
If you saved a snip with Ctrl+Shift+S, it went to whichever folder you picked in the save window, so start your search there. Auto-save copies can also keep a snip you never explicitly saved, so a missing file may still be on your machine.
Add a border when a snip needs to stand out in a document. Notification settings control whether that pop-up appears at all. Choose your save location once, so snips land in a folder you already use. Then stop hunting for files.
Shortcuts for the Snip & Sketch App
Snip & Sketch is where your screenshots get finished, often without the mouse. Here’s how it compares, then the keys that matter once a capture is open.
How it compares to the Snipping Tool
Snip & Sketch is a modern Windows 10 app that works much like the Snipping Tool you already know. The capture is the same; the editing is what’s new.
Built-in pen, pencil, and highlighter tools let you mark up a screenshot without opening a second program.
For typists, the big win is the shortcut. Win + Shift + S starts a capture without hunting for an app icon, so the whole process stays on the keyboard.
Keys for pens, cropping, and sharing
Once a capture is open, these are the keys to learn first:
- Pen, pencil, and highlighter. Each has its own key, so you can switch from circling an error to highlighting a line without touching the toolbar.
- Crop with Alt + R. Trim the capture down to the part your reader needs.
- Zoom and undo. Zoom in to check a small detail, and undo a mark that landed in the wrong spot.
- Share with Alt + A. Send the finished image on without a trip to the menu.
- Touch writing toggle. Turn touch writing on or off from the keyboard, so you decide when your fingers can write on the capture.
Consider a home office support agent who captures a customer’s error, highlights the key line, crops the rest, and shares it into the chat. Every step runs on a key, with no mouse trips between them. Hands stay on the keys.
Once a few of these keys become muscle memory, screenshots stop being an interruption. You can capture, annotate, and save without leaving the keyboard, whether you’re on Windows or a Mac.
Start with the one you’ll use most this week, then add another once it feels natural. Those small savings add up across a full day of typing.
Give it a week of practice, and the mouse will start to feel like the slow way around. Your hands stay on the keys, and your work keeps moving.
Questions
How to create a shortcut key for a Snipping Tool?
Right-click the Snipping Tool shortcut, choose Properties, and open the Shortcut tab. Click the Shortcut key box, press the key combination you want to use, then select Apply and OK. Windows adds Ctrl+Alt to many single-key choices; the shortcut launches the app.
How do I snip, copy and paste?
Press Win+Shift+S and choose a snip mode, then select the area or window you want to capture. The snip is copied to the clipboard; click where you want it and press Ctrl+V to paste it. In the Snipping Tool editor, Ctrl+C copies the open snip, and Ctrl+S saves it as a file.
How to screenshot on Windows 10?
Press Win+Shift+S, choose rectangle, window, full-screen, or freeform mode, and capture the screen or area you need. The image is copied to the clipboard, so press Ctrl+V in an app to paste it. You can also press PrtScn to copy the full screen, or enable the setting that makes PrtScn open the capture bar.
How to screenshot on computer with Ctrl?
Press Ctrl+PrtScn to copy a screenshot of the entire screen to the clipboard on many Windows computers, then press Ctrl+V to paste it. On Windows 10, Win+Shift+S is the more flexible shortcut for selecting an area, window, or full screen.
How do I take a screenshot on my phone?
On most Android phones, press the Power and Volume Down buttons at the same time. On an iPhone with Face ID, press the Side button and Volume Up together; on an iPhone with a Home button, press the Side or Top button and Home together. The screenshot is usually saved in Photos or Gallery.
How to screenshot on iPad?
Press the Top button and either Volume button at the same time on an iPad without a Home button. On an iPad with a Home button, press the Top button and Home together. Find the screenshot in the Photos app.
Is there an alternative to Snipping Tool?
Yes. Windows includes other built-in options, including the Print Screen key and Xbox Game Bar for screenshots, while Snip & Sketch is another Windows 10 capture and editing app. Third-party screenshot tools are also available if you need features beyond everyday captures.
Where do Ctrl+Shift+S Screenshots go?
Ctrl+Shift+S opens the Save As window in the Snipping Tool; the screenshot is saved in the folder selected there. Check the folder you chose in that window. A snip that was only copied to the clipboard is not saved as a file.
spaceShortcut Sheets: the twenty keys to learn first in each appFind your app