Windows 10 Bootable USB Explained, Step by Step
Windows 10 bootable USB instructions cover creating the drive, booting from it, installing Windows, and activating with your product key, step by step.

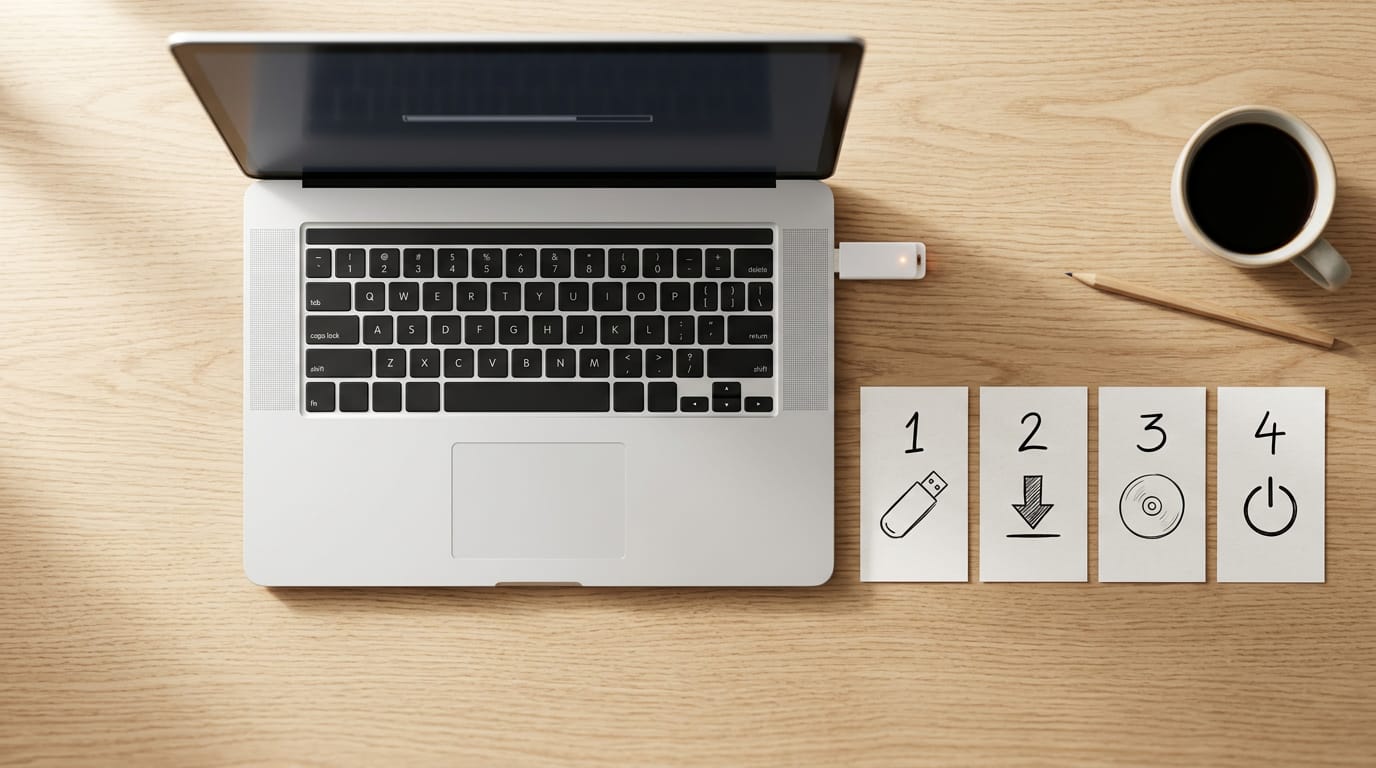
The short versionA Windows 10 bootable USB is a flash drive containing the Windows installer that lets a computer start from the drive to install or repair Windows. Create it with Microsoft’s Media Creation Tool or an ISO utility, start the PC from USB through its boot settings, and back up files before installing because deleting partitions erases their contents. Make the drive before your PC fails, and it can make a reinstall easier when the usual Windows startup no longer works.
Picture your work laptop refusing to start an hour before a deadline.
A Windows 10 bootable USB is the spare key for that moment: a flash drive loaded with the Windows installer that your PC can start from, so you can reinstall or repair Windows without relying on the copy that’s broken.
This guide walks you through creating the drive, starting from it, installing Windows, and activating with your product key.
We’ll also cover the routes other guides skip, like firmware startup settings, Macs, and disc image files (ISOs), so you’re covered whatever machine is on your desk.
Prepare Your Windows 10 Bootable USB
A bootable USB is a flash drive that can start a computer on its own, so a little preparation goes a long way. Here’s what to gather and which settings to check.
What you need before you start
Before you plug anything in, make sure you have:
- An 8GB or larger flash drive
- A USB 3.0 drive, recommended for speed
- Microsoft’s Media Creation Tool, the installer that builds the drive for you
- An internet connection, since the tool needs one to do its work
Prefer to start from an ISO file (a single disk image)? You can download the ISO and use Rufus, a tool for putting that file onto a drive, as an alternative.
Working on a Mac? That route is different, so it gets its own walkthrough later in this guide.
Picture a home office worker whose laptop won’t start the morning of a deadline. With a ready drive, she can start the fix herself instead of waiting on someone else. That’s why the goal is preparation rather than repair.

Choose settings and fix drive problems
Pick 64-bit as your architecture, the processor design the installer is built for. If your drive is missing from the list, format it as FAT32 (a common file system) and check again. Still no luck? Try a different drive.
Once you start, the installer downloads Windows 10 and makes your drive bootable, which takes several minutes. Give it time.
Start Your PC from the USB Drive
Before Windows can install, your PC has to read the USB (universal serial bus) drive instead of its internal drive. Here’s how we’ll make that switch.
Open BIOS and set the boot order
Your PC picks what to start from using a set of firmware settings called the BIOS (Basic Input/Output System). The order it checks devices in is the boot order, and that’s the list you’ll change.
Here’s the basic path:
- Plug in your USB drive and restart your PC.
- As the first screen appears, press F2 or Delete.
- Open the Boot tab.
- Move your USB drive to the top of the list, then save your change and exit.
Steps vary by model, so the labels on your screen may not match these exactly. If you can’t find the Boot tab or the key does nothing, contact your PC manufacturer’s support.
You may also see UEFI (the Unified Extensible Firmware Interface) or Legacy listed as a startup mode. Your drive is also set up one of two ways, either GPT (GUID Partition Table) or MBR (Master Boot Record).
Don’t change either one until you know which matches your setup. It’s less about guessing and more about checking first.
Consider a home office worker whose laptop is her only machine for client work. She restarts after dinner, taps F2 as the first screen appears, and sets the USB drive to boot first.
Scheduling the install outside work hours means it can run while nobody’s waiting on her. Nothing’s installed yet, though. You’re only telling the PC where to look.
Install Windows 10 from Your USB
Once your drive is ready and your computer boots from it, the installer takes over. Most of the work is a handful of clicks, but two steps can cost you files if you rush them.
Walk through the setup screens
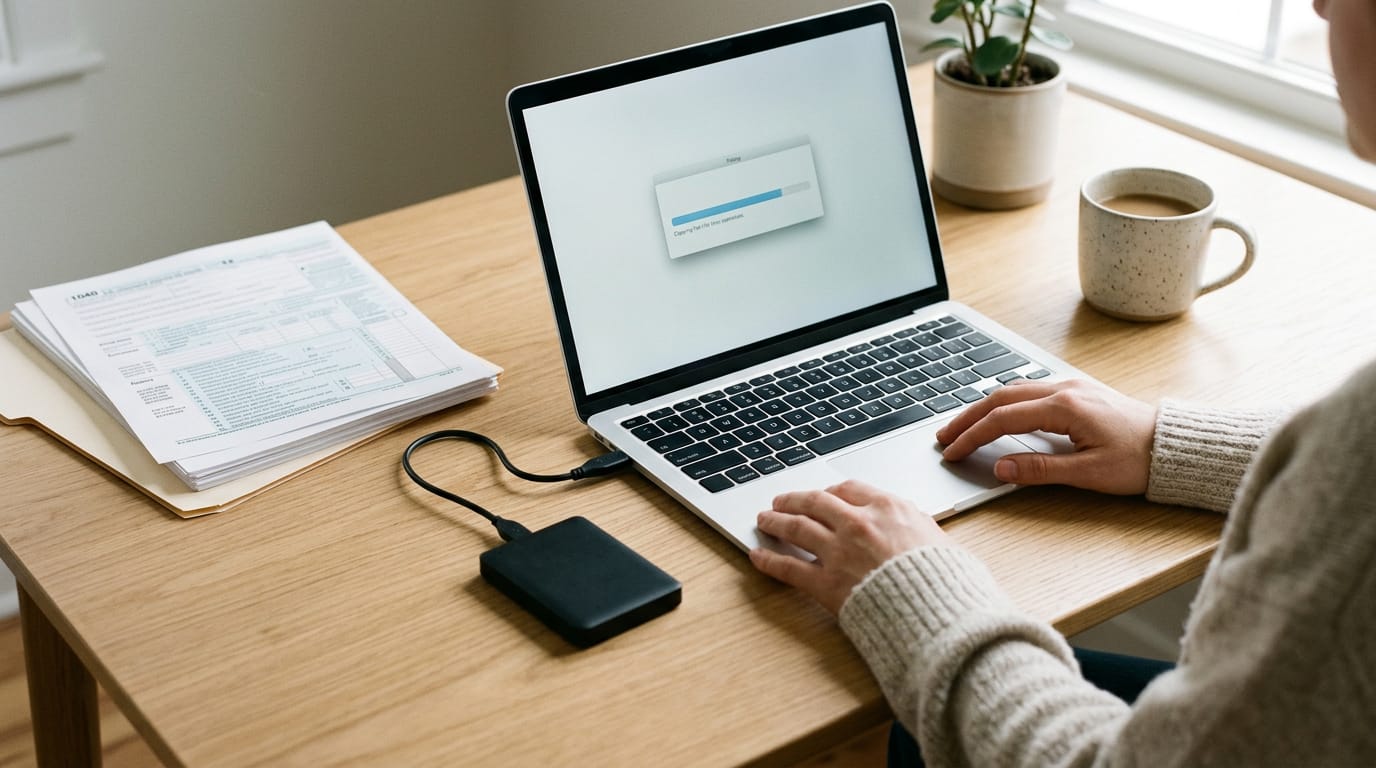
Take a home office worker who keeps client invoices and tax records on the same laptop. Before anything else, back up work files first: that copy takes minutes and protects a month of billing.
You’re reinstalling Windows, not erasing your work, so a second copy is cheap insurance. Then work through the setup screens in order:
- Select Next on the first screen.
- Enter your product key when prompted.
- If the installer asks which Windows version to install, choose the one you’re licensed for.
- Delete existing partitions (the separate sections a drive is split into) carefully, because removing one erases everything stored in it.
- Let the installer create the new partitions automatically.
Restart and unplug the flash drive
Your computer may boot from the USB again once the installation is underway, which can look like the installer started over. When it prompts you to restart, reboot and remove the flash drive.
Leaving it plugged in can send you right back to the start of setup. One unplugged drive, and you’re nearly there.
Activating Windows with Your Product Key
Once Windows is installed, it needs a product key to activate. Here’s how to get the key in and confirm it took.
Find your key and enter it
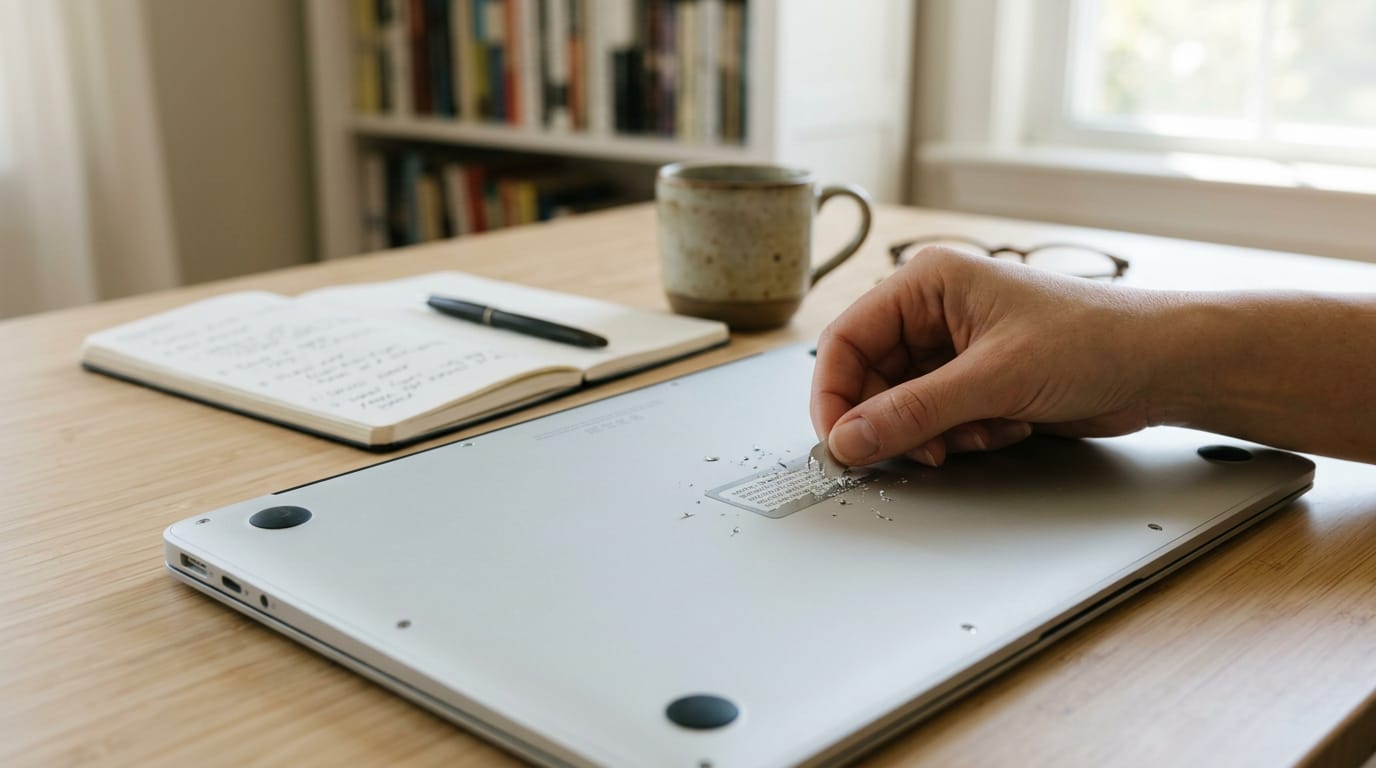
Your key is usually printed on a sticker on the bottom of the PC. Some stickers hide it under a silver foil layer, so scratch that off gently and type the characters exactly as they appear.
Write it down as soon as you find it, so you’re not flipping the machine over again later.
Think of a home office worker who rebuilt her laptop on a Saturday morning. She flipped it over, found the sticker, and had Windows activated before her coffee cooled, without a single call to support.
When you type the key in, it’s less about speed and more about accuracy, since one wrong character will stop the key from working.
Here’s the order that works:
- Open This PC. Choose Properties to see your activation status at the bottom of the window.
- Activate online. Enter the key when prompted, and Windows will usually activate automatically as long as you’re connected to the internet.
- Ignore the hardware change error. If it pops up, you can usually set it aside and keep going.
Then you’re done.
Set up Windows After Installation
Your install is done, but a fresh copy of Windows still has a few defaults you’ll want to change before you start typing. Here’s how to sort out your account and privacy settings, then get your hardware working.
Adjust account and privacy settings
If the PC belongs to your company, use domain join (connecting it to your organization’s network) instead of creating a local account. Next, disable the Microsoft Store options you won’t use, and turn off Cortana, Windows’ voice assistant.
When Windows asks you to sign in with a Microsoft account, click No.
On a work machine, choose control over convenience. Consider a support agent setting up her laptop at the kitchen table.
Joining the company network and skipping the Microsoft account prompt means her work sign-in is ready before her first ticket comes in.
Wait for the settings to apply before you move on, since a minute now saves you from wondering why a change didn’t stick. Less clutter, fewer surprises.
Getting the right drivers
Drivers are the small programs that let Windows talk to your hardware, like your Wi-Fi, graphics, and touchpad. Run Windows Update first, before you go hunting for anything else.
If something still isn’t working, such as a Wi-Fi adapter or a touchpad that won’t respond, check your manufacturer’s technical resources page for the drivers listed for your exact model. Match the model number, not just the brand.
Once the drivers are sorted, reinstall your work apps, your virtual private network (VPN) connection, and your shortcuts, and you’re back in business.
A Windows 10 bootable USB turns a stalled PC into one you can fix, and the steps are simpler than they look once you’ve worked through them.
We’ve covered how to create the drive, start from it, install Windows, activate with your product key, and set things up afterward, with the Mac and ISO routes included for machines that don’t follow the usual path.
Make the drive while your PC still works, and the next bad day becomes a short detour.
spaceShortcut Sheets: the twenty keys to learn first in each appFind your app