How Do You Do a Hanging Indent on Google Docs?
How do you do a hanging indent in Google Docs? Set citation entries with the Format menu, ruler, or iPad app, and fix pasted text that won’t line up.

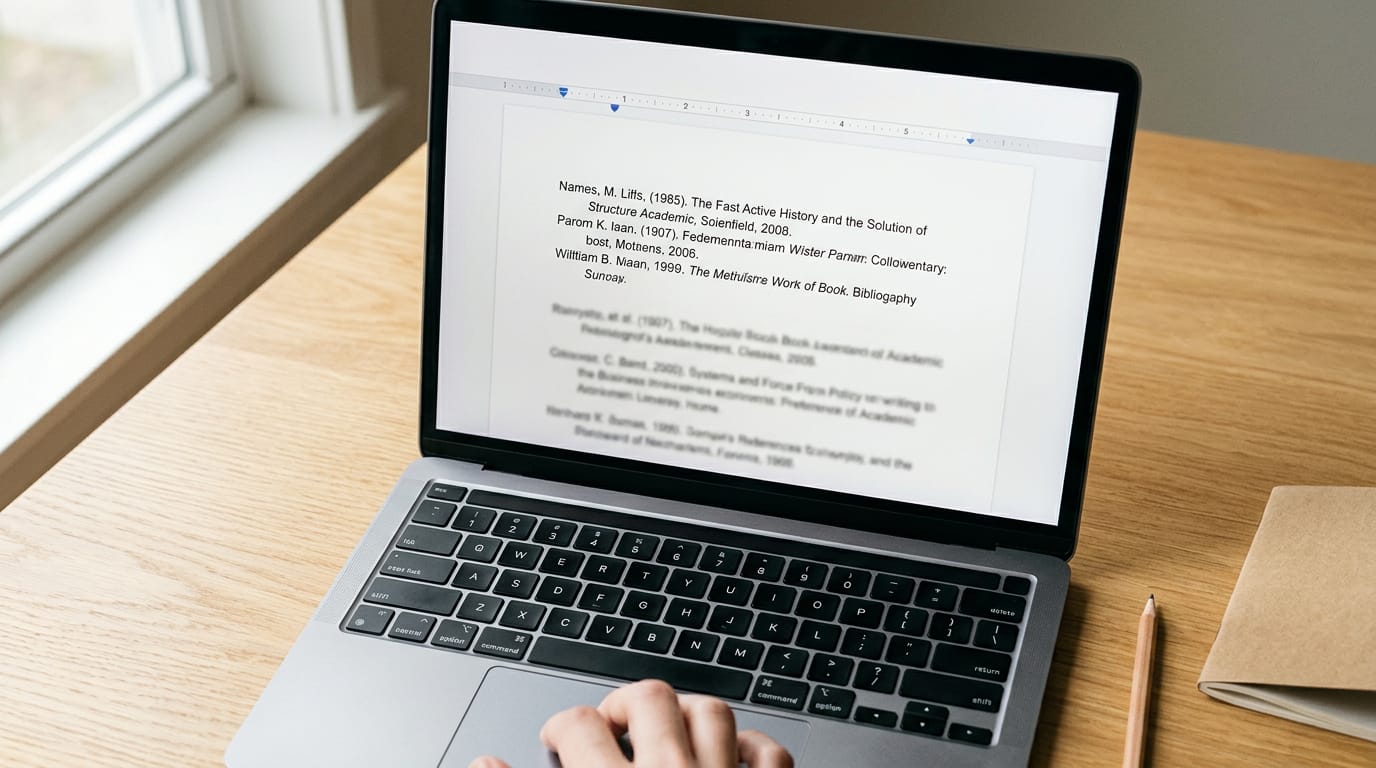
The short versionA hanging indent in Google Docs keeps the first line of a paragraph at the left margin and moves every following line inward, a format commonly used for bibliography, reference, and works cited entries. On a computer, select the text and choose Format, Align & indent, Indentation options, then Hanging, or use the ruler; the default indent is half an inch. Apply it to a whole list at once, and if a pasted citation is difficult to fix, retype it and apply the indent again.
Picture a works cited page where each entry starts flush with the left margin and the lines below it step in. That’s a hanging indent, and citation guides ask for it constantly.
In Google Docs, you can build one from the Format menu, the ruler, or the Android and iPad apps. We’ll cover each route, plus how to fix citations that paste in looking wrong.
If you’d rather keep your hands on the keys, we’ll show you that route too.
Why Hanging Indents Matter in Google Docs
A hanging indent is a small detail that tells your reader you know what you’re doing. Here’s what it is and where you’ll need it.
What a hanging indent looks like
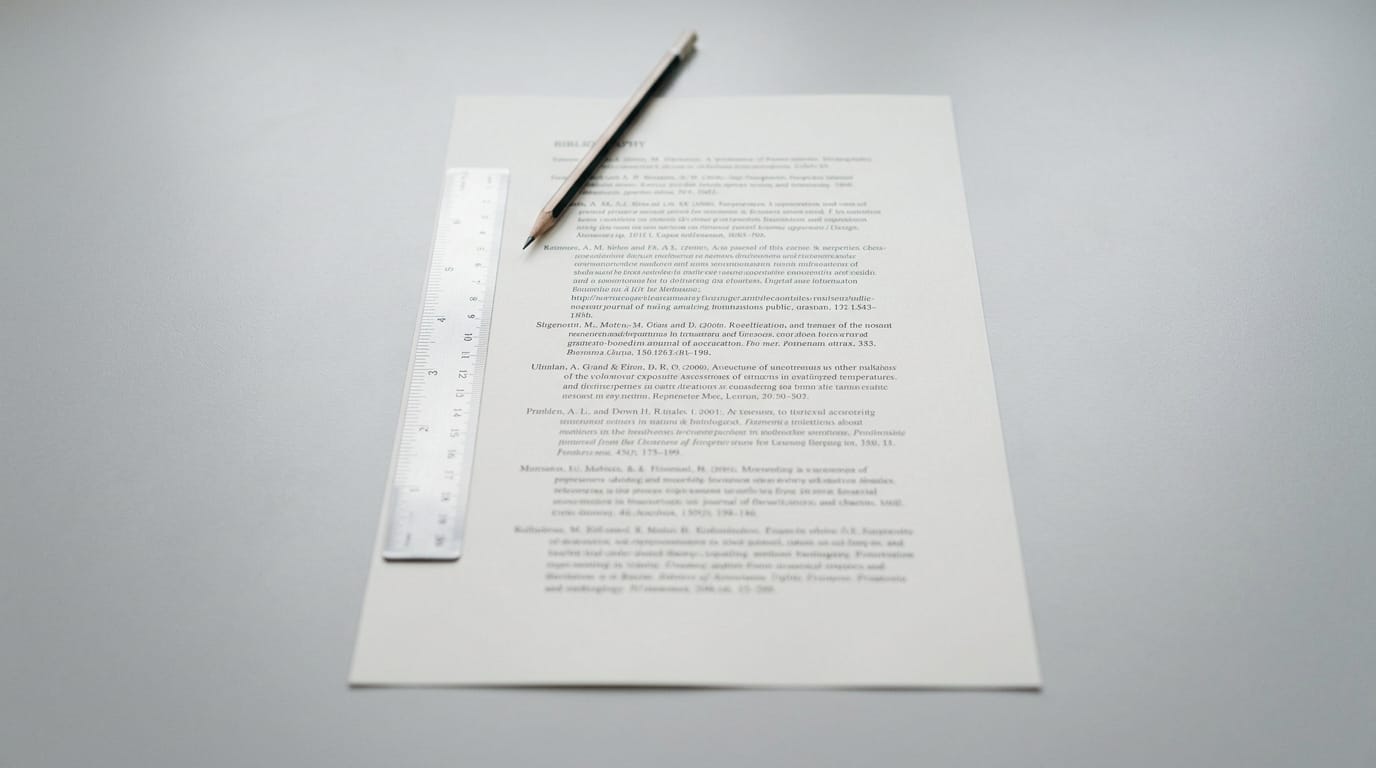
A hanging indent keeps the first line of a paragraph flush with the left margin while every line after it steps in, so the text seems to hang off that first line.
A standard indent is the reverse: it pushes only the first line in, and the rest sit at the margin.
Picture a reference entry with the author’s name at the left edge and the title, publisher, and date tucked underneath, each line nudged right. The first line anchors the entry. Everything else hangs from it.
Using them for citations and academic work
Hanging indents show up wherever a page is built from a stack of short entries:
- Bibliography and reference pages. Each source starts on its own line, so a long list stays easy to scan.
- APA and MLA requirements. Both styles call for hanging indents on reference and works cited entries, so if you’re writing to either one, this is part of the rules.
- MLA helps readers spot entries. The indent shows exactly where each entry begins, so a reader can find one source without reading the whole page.
- Professional-looking documents. Consistent indents make a reference list look polished for any teacher, editor, or client.
Consider a freelance editor working from a home office who attaches a short bibliography to a client report.
She applies the hanging indent to the whole list in one step instead of nudging each entry by hand, and the client gets a clean page without a second thought.
Make a Hanging Indent on Your Computer
A hanging indent keeps a paragraph’s first line at the margin while the lines after it step in. Google Docs offers a few ways to set one.
Working through the Format menu
Follow these steps:
- Select the text you want to change.
- Go to Format > Align & indent > Indentation options.
- Open the Special indent dropdown and choose Hanging.
Prefer the keyboard? Press Alt+/, type indentation, then press Enter on the match.
On a Mac, the path is identical. Use Cmd wherever a shortcut uses Ctrl.
Highlight text and pick the indent size
Triple-click a paragraph to select it, or drag across several to highlight them together. The indent applies only to highlighted text, so if nothing changes, check your selection first.
The default is 0.5 inch, so that’s where to start. Use 1 inch only if your instructor or style guide asks for it. For a custom amount, type a new number in the By box.
Prefer the ruler? You can drag the lower triangle to the right, then drag the upper one back to the margin. A hanging indent moves the lines after the first, not the first line itself.
Picture a freelance editor at a home office desk with thirty bibliography entries due by five. Highlighting the whole list and applying the indent once formats all thirty entries. One step.

Taking a hanging indent back out
Click at the start of the paragraph and press Backspace. That’s the whole fix.
Indenting Just the First Line
A first line indent pushes only the opening line of each paragraph inward, leaving the rest flush with the margin. Here’s where it fits and how to set it in Google Docs.
Where regular indents work best
A first line indent is a quiet signal that a new paragraph has started. It’s about where a paragraph starts, not how the whole block sits on the page.
You’ll reach for it most in essays and long prose, where paragraphs run several sentences and the reader needs a clear visual break between them.
Consider a freelance editor working from a home office who has to send a finished essay to a client by Friday. Setting a first line indent on each paragraph gives the draft a clean shape before it goes out, with no last-minute cleanup. Friday, saved.
Set a first line indent in Docs
On a computer, follow these steps:
- Click Format, then choose Align & indent.
- Select Indentation options.
- Under Special indent, choose First line.
On iPad, place your cursor at the first line of the paragraph, then use Right Indent. That’s the whole setup.
Hanging Indents on the IPad App
A hanging indent keeps the first line of a paragraph flush left while the lines below it step in. On the iPad app, it’s less about dragging and more about tapping through a few menus.
Tapping through the app steps
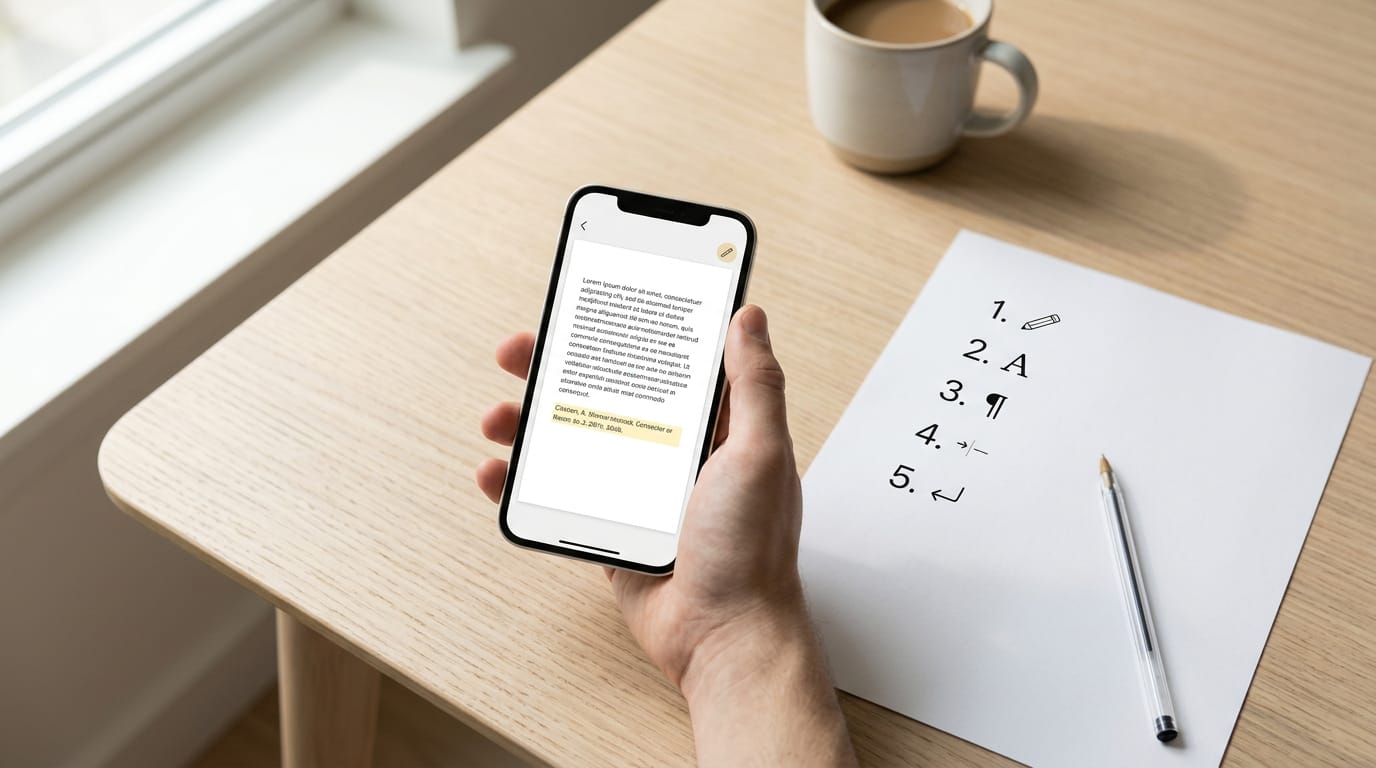
Here’s the sequence, in order:
- Open the Google Docs app.
- Tap the pencil icon to edit.
- Highlight the citation, then tap the A icon.
- Open Paragraph options and choose Right Indent.
- Press Return after the first line.
How do I change line spacing in Google Docs?
Line spacing is the gap between lines of text, and it’s set separately from indents. Select the text, then change it from 1.5 to 2.0. Double spacing suits academic formats, so set it before you paste anything in.
On desktop, the spacing control sits in the formatting menus, so you can make the same change at your keyboard.
Fixing indents on pasted citations
Consider a home office worker who drafts a client report on her iPad and pastes in a citation from a research database, only to watch the hanging indent drift out of place.
Pasted citations are where indent problems tend to start, and it may take several tries to fix them.
Sometimes the faster move is retyping rather than repairing. Retyping feels like a step backward, but it’s often the quickest way forward: type the citation fresh, reapply the indent with the steps above, and move on.
Once you know the Format menu, the ruler, and the keyboard route, a hanging indent stops being a formatting puzzle. You can set one up quickly, fix a pasted citation without starting over, and get back to the writing that matters.
Pick the route that fits how you work, whether that’s the mouse, the touchscreen, or the keys you already use all day.
Your bibliography can look polished, and your hands never have to leave the keyboard.
Questions
What is Ctrl+K in Google Docs?
In Google Docs, Ctrl+K opens the link dialog, letting you insert or edit a hyperlink for selected text. On a Mac, use Cmd+K.
What is a hanging indent in a bibliography?
A hanging indent in a bibliography keeps the first line of each entry at the left margin and indents every line that follows. It makes individual sources easier to scan.
How do I add a hanging indent?
Select the bibliography entries, then choose Format > Align & indent > Indentation options. Under Special indent, choose Hanging; the default indent is 0.5 inch.
How do I indent on the Google Docs app?
In the Google Docs app, tap the pencil icon, highlight the citation, then tap the A icon and open Paragraph options. Choose Right Indent, then press Return after the first line to create the hanging effect.
How do I create a hanging indent?
Select the paragraph or entries, then go to Format > Align & indent > Indentation options and choose Hanging under Special indent. You can also use the ruler by moving the lower triangle right and returning the upper triangle to the left margin.
Why is Google Docs not doing a hanging indent?
A hanging indent applies only to selected text, so first check that the paragraph or entries are highlighted. Pasted citations can also carry formatting that interferes; try resetting the indentation or retyping the citation and applying the indent again.
Are hanging indents 0.5 or 1?
A standard hanging indent is 0.5 inch. Use 1 inch only when an instructor or style guide specifically requests it.
Is hanging Indentation 0.5 or 1?
Hanging indentation is usually 0.5 inch, including for common academic reference lists. Use 1 inch only if the assignment or applicable style instructions require that size.
spaceShortcut Sheets: the twenty keys to learn first in each appFind your app